

a little place in the world where magic happens
Thursday, September 25, 2014
Beautiful Head Wreath for a Photo Shoot

Sunday, July 13, 2014
Inkjet Printer Photo Experiment
I have always loved the idea of being able to transfer a photo. So last month I experimented with transferring a photo onto wood using gloss medium. Honestly the drying time and then the rubbing time was way to much for me. I had to let the image sit overnight and then I had to rub and rub and rub and rub (see where I'm going with this) until the paper came off that left the photo behind. Needless to say I wasn't very happy with the results of all that work. So I put that idea on the backburner until I watched some more videos this week on inkjet photo transfer. I saw a whole new technique that allowed instant satisfaction. So I decided to try the new method because i happened to have all the supplies sitting around our place. We had saved a bunch of wood ends from our shop build so I gathered a few of those and sanded them down.

 The first attempt went okay. I put it directly on the wood and thought it didn't have enough contrast so next I tried lightly brushing the wood with white paint and then putting on the image. It seem to turn out a lot better. Next I wanted to try a color image so I printed out one of my owl paintings that was bright and colorful. The transfer went well but I didn't get the image centered. So I got the idea to use some spray inks to fix it and to try as a background effect. I really like how it turned out

and put a black and white image transfer over the top. I decided to try an actual photo image and experimented with small blocks of wood. I watched one video where the wet the wood first and then applied the image. I tried that method and my inks ran together. I also tried applying the image and rubbing it in but that seemed to smear stuff too. So in the end I just printed my image out on the waxy paper and pressed it onto the block. It turned out good. I also tried to do a much more detailed image that was in all purple shades and that one didn't work at all. So it seemed the bright colors or the black and whites seemed to work best. It also appeared that the surface I was transferring onto needed to be pretty smooth unless I really wanted the grainy look.

The first attempt went okay. I put it directly on the wood and thought it didn't have enough contrast so next I tried lightly brushing the wood with white paint and then putting on the image. It seem to turn out a lot better. Next I wanted to try a color image so I printed out one of my owl paintings that was bright and colorful. The transfer went well but I didn't get the image centered. So I got the idea to use some spray inks to fix it and to try as a background effect. I really like how it turned out and put a black and white image transfer over the top. I decided to try an actual photo image and experimented with small blocks of wood. I watched one video where the wet the wood first and then applied the image. I tried that method and my inks ran together. I also tried applying the image and rubbing it in but that seemed to smear stuff too. So in the end I just printed my image out on the waxy paper and pressed it onto the block. It turned out good. I also tried to do a much more detailed image that was in all purple shades and that one didn't work at all. So it seemed the bright colors or the black and whites seemed to work best. It also appeared that the surface I was transferring onto needed to be pretty smooth unless I really wanted the grainy look.
Here is the video I watched about how to transfer an image with an inkjet printer.
Friday, June 13, 2014
Mom's shop is coming together.
We have been busy working on a renovation of one of our shops. It was originally at 6ft x 10ft shed with a gravel floor. We added a floor last year and moved stuff in. We have been busy on lots of other projects and buildings and just recently were able to get back into our tiny wood shop. With some great buys at our local ReStore we were able to purchase some used cabinets and sets of heavy duty drawers. We got those installed and along with a new window and now Mom is moving in with all her tools. Here she is working her newest project.


She is busy making tiny little fairy houses to place all over the yard. She is using cheap bird houses from the local dollar store and left over branches from yard trimming. We also have been stripping Alders so she is using the bark from that project too.
This is just the beginning of what is to come with these houses. The one on the left is a finished one and the one on the right is in progress.
Upcycle Basket Projects at our House
A friend of mine had a yard sale and ended up with some basket leftovers that he thought maybe I could use. Well he was right. I knew the instant I saw this one I could make something free and fabulous. Here is the basket before its makeover


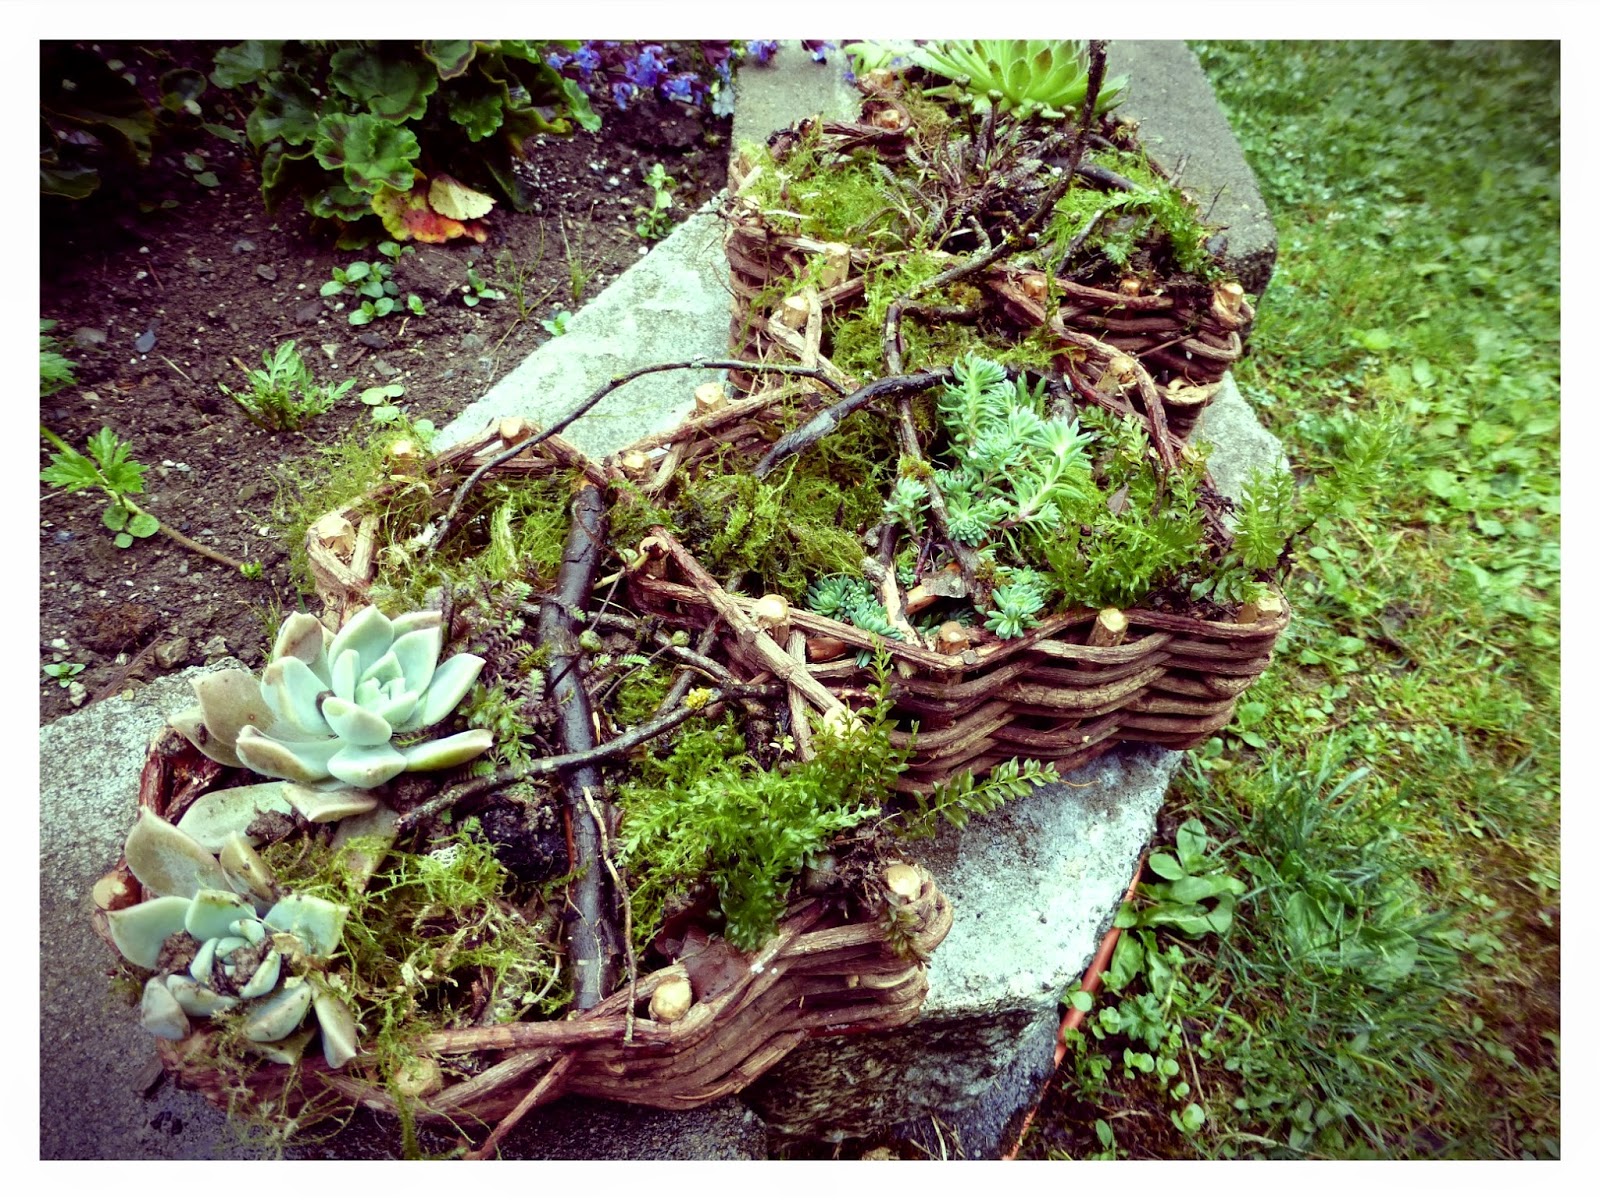

I decided it needed some plants. I collected moss, branches, bark, dirt and some left over sedum plants that hadn't found a home in the yard yet.
I lined the bottom of the heart with a piece of bark so the dirt would stay in. I then stuffed branches across the hearts back and forth so the plants would stay in. I put a layer of moss and the dirt in each heart. I spent some figuring out which plants should go where and then stuffed them in with dirt. I surrounded all empty spots with moss from the yard to make sure nothing would fall out. After I had everything in place I put some more branches across so the front so when I hang it up everything will stay in place.
I love how this project turned out. It didn't cost me a thing which makes it even better. I ended up hanging it off the porch with some zip ties. In the end I used 5 different kinds of plants. I just went around the yard and thinned some locations out so I could get the plants I wanted. Looking forward to figuring out what I can make next.
Friday, October 25, 2013

My Wonderful Family

My family and I had a wonderful day visiting and stopped by the lake to get some pictures. It is a beautiful fall season around here and the photographic opportunities are endless.
Wednesday, November 21, 2012
We are being permitted to go Ahead!

Subscribe to:
Posts (Atom)